








Step 1
Loosen the nut on the exterior of your chosen mounting hub location until there are only a few visible bolt threads between the nut and the smooth part of the eyebolt.

Step 2
Tighten the eyebolt on the hub exterior by turning it clockwise until the nut rests against the washer.

Step 3
Re-tighten the exterior nut to secure this new eyebolt depth.

Step 4
Remove the nut on the interior of your chosen mounting hub location.

Step 5
Place the E-Hub™ Base over the exposed eyebolt and onto the hub.

Step 6
Restore the interior nut over the Base and fasten it securely.

Step 7
Confirm that the nylon on the interior locking nut is fully engaged with the eyebolt threads. If not, return to Step 1 and loosen the exterior nut further.

Usage
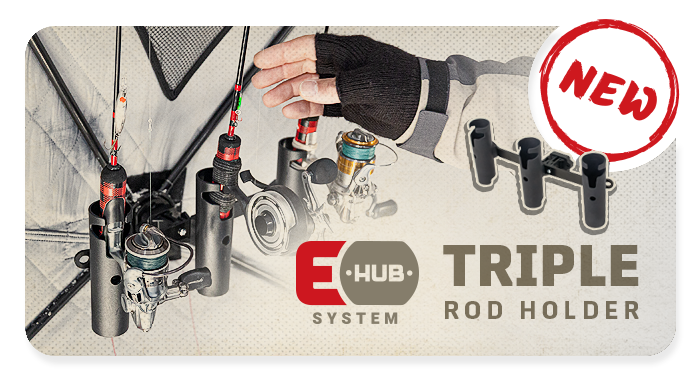
With the Base now successfully attached, simply slide the mounting plate of any E-Hub™ attachable accessory onto the Base until it clicks into place for use.

Adapters
Note that some E-Hub™ accessories (Cup Holder and Table) come with Angled and Perpendicular adapters included. These are intended to either compensate for the flared base of some shelters, or to be used on vertical mounting surfaces respectively.


